Flooring6 min read
Why epoxy floors blister and peel, and how to prevent it
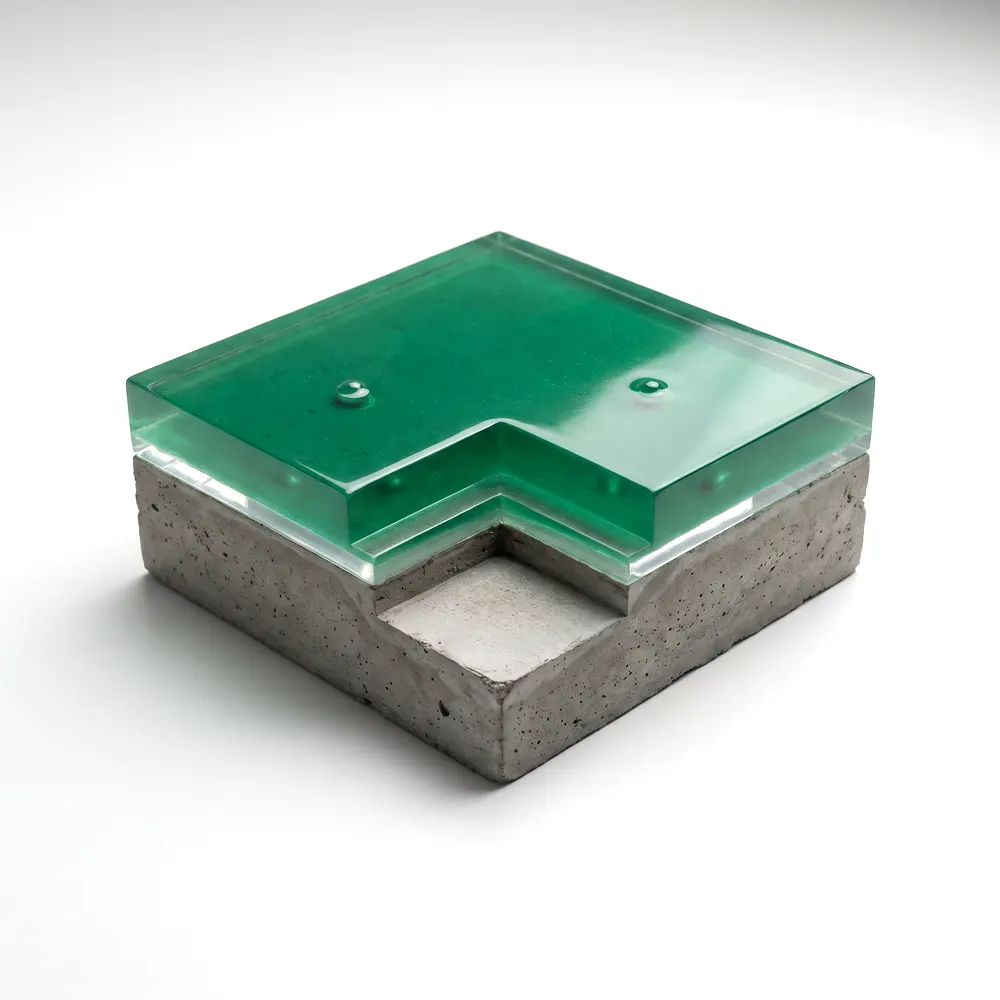
An epoxy floor blisters or peels when water, trapped air or a weak surface gets between the resin and the slab. Damp rising through the concrete lifts blisters. Air escaping from open pores leaves pinholes. Laitance, dust or oil lets whole sheets come away. Prevention means checking slab moisture, air humidity and slab temperature against the data sheet, then preparing and priming the surface before any resin is mixed.
In this guide
- 1What does each epoxy floor failure look like?
- 2Why does a floor blister long after it was laid?
- 3What limits do Mapei's resin floor data sheets set?
- 4Is Dar es Salaam too humid to lay an epoxy floor?
- 5What can you do if the slab is still damp?
- 6How do you prevent blistering before the first drum is opened?
What does each epoxy floor failure look like?
Each failure leaves a different mark, so read the floor before planning a repair. A blister is a dome with the coating still whole, pushed up from underneath. Peeling is a bond that never properly formed: the resin comes away in sheets. Pinholes are small craters where air broke through the wet coat before it set.
Timing helps too. Pinholes are there on day one. A floor that looked perfect and lifts after the rains points to the slab. A patch that stays soft while the rest hardens points to the mixing bucket.
No data sheet lists failures by symptom, so the causes below are our reading of the cautions Mapei prints. Treat them as the first thing to check.
| What you see | Likely cause | Prevention |
|---|---|---|
| Blisters, some time after laying | Moisture rising through the slab | Moisture 4% maximum, no rising damp |
| Dull, sticky or whitened surface | Condensation, or coating in humid air | Slab 3°C above dew point; keep to the air limit |
| Pinholes and craters on day one | Air escaping from open pores | Close pores with primer; spiked roller while wet |
| Sheets lifting cleanly | Laitance, dust, oil or no primer | Grind or shot-blast, vacuum, prime |
| Soft patches that never harden | Part-mixed kit, or thinned resin | Mix whole kits; no solvent or water |
Why does a floor blister long after it was laid?
Usually because water is moving up through the slab and the resin will not let it out. Concrete on the ground keeps drying through its top face. Close that face with a dense coating and vapour collects at the bond line until the coat lifts.
Mapei's epoxy sheets and Mapefloor PU 410 set the same pair of rules: substrate moisture no higher than 4%, and no capillary rising damp. They are separate tests: a slab can have dried well and still draw water from wet ground. Rain in masika or vuli can rewet an exposed slab.
The Mapefloor I 300 SL ME and Primer SN sheets add a check with a sheet of polythene. That looks for rising damp and gives no percentage. No sheet prints how the 4% is to be read, so agree the method with Mapei technical services before the job.
What limits do Mapei's resin floor data sheets set?
Each sheet prints its own limits, and they differ more than most applicators expect. The air humidity limit on Mapefloor FC 200 ME is 75%; on Mapefloor CPU+/MF the air must be below 80%. FC 200 ME prints no dew point rule, while the next two rows print no air limit.
"Not stated" means the sheet prints no figure, not that no limit exists. If a build-up uses several products, check every layer against its own sheet, and ask where a sheet is silent.
One rule is shared: every sheet below except Triblock P says to protect the product from water for at least 24 hours after application. Each page on our resin flooring line carries the full data sheet and a coverage calculator.
| Product | Substrate moisture | Air humidity | Slab against dew point | Application temperature |
|---|---|---|---|---|
| Mapefloor FC 200 ME | 4% maximum | 75% maximum | Not stated | +5 to +35°C |
| Mapefloor I 300 SL ME | 4% maximum | Not stated | 3°C above | +8 to +35°C |
| Primer SN | 4% maximum | Not stated | 3°C above | +8 to +35°C |
| Mapefloor CPU+/MF | Visually dry; concrete 7 days or older | Below 80% | 3°C above | +10 to +30°C |
| Mapefloor PU 410 | 4% maximum | 80% maximum | 3°C above | +10 to +30°C |
| Mapefloor Finish 450 ME | 4% maximum | Not stated | 3°C above | +10 to +35°C |
| Triblock P | Damp allowed; no free-standing water | Not stated | Not stated | +5 to +35°C |
Is Dar es Salaam too humid to lay an epoxy floor?
Not outright, but the air limit is a real constraint on the coast. The climate table for Julius Nyerere International Airport (1991 to 2020) gives a mean relative humidity from 75% in September to 84% in April. Every monthly mean sits at or above the 75% printed for Mapefloor FC 200 ME. March, April and May, at 80%, 84% and 81%, reach the 80% limits on Mapefloor CPU+/MF and PU 410.
A monthly mean is not your working hour, and we have neither hourly figures nor slab readings. Nobody should assume the air is within limits; read it.
Dew point is the temperature at which moisture in the air condenses on a surface. A slab still cool from the night can sit near it, and the 3°C margin keeps water off it. Heat matters too: mean daily maximums run from 29.7 to 32.8°C, and CPU+/MF asks for ambient temperature no higher than +30°C.
What can you do if the slab is still damp?
You have three honest options, and an ordinary primer is not one of them. Primer SN carries the same 4% ceiling as the coating above it, so it will not hold moisture back. Pick from the list below, and do not start while the check is still failing.
Clear any free-standing water first, because the Triblock P sheet rules it out. If the damp comes from the ground rather than from the pour, ask Mapei technical services before choosing. Mapefloor CPU+/MF excludes capillary rising damp outright, and the Triblock P sheet speaks of damp substrates and residual humidity without naming rising damp. Keep the slab covered from rain where you can, and record the readings each day while it dries.
- Wait and recheck, planning around masika and vuli.
- Use Triblock P, an epoxy-cementitious primer for damp substrates. Later coats follow within 24 hours to 7 days. It is rigid, so keep it off moving cracks.
- Change the system to [Mapefloor CPU+/MF](/mapei/resin-flooring/mapefloor-cpu-plus-mf), polyurethane cement, which asks for concrete at least 7 days old that appears visually dry.
How do you prevent blistering before the first drum is opened?
Run the same checks in the same order on every job, and write the readings down. Most of what goes wrong with a resin floor is decided before the resin is mixed, and none of it can be corrected once the coat has set. These steps follow the Mapefloor I 300 SL ME and Mapefloor FC 200 ME sheets, so check them against the sheet for your own product. Take readings at the time of application, not the day before: humidity and slab temperature move through the day, and a dry morning says nothing about a wet afternoon. Keep the record with the job file, because it is the first thing anyone will ask for if the floor later lifts.
- 1Confirm the concrete reaches 25 N/mm² compressive and 1.5 N/mm² tensile.
- 2Shot-blast or diamond-grind away laitance, then vacuum.
- 3Fill cracks with Eporip.
- 4Check moisture and rising damp against the chosen sheet.
- 5Read air humidity and slab temperature.
- 6Prime, and make sure no open pores remain.
- 7Mix whole kits. Never dilute.
- 8Keep water off the floor for at least 24 hours.
Sources
- Mapefloor FC 200 ME technical data sheet, Mapei
- Mapefloor I 300 SL ME technical data sheet, Mapei
- Mapefloor CPU+/MF technical data sheet, Mapei
- Mapefloor PU 410 technical data sheet, Mapei
- Mapefloor Finish 450 ME technical data sheet, Mapei
- Primer SN technical data sheet, Mapei
- Triblock P technical data sheet, Mapei
- Dar es Salaam climate table, Julius Nyerere International Airport, 1991 to 2020 (Wikipedia, citing NOAA and Deutscher Wetterdienst)
Written by Sahihi Construction Chemicals Limited, Dar es Salaam. Product figures are quoted from the manufacturers' technical data sheets; check the current sheet before you specify.