Tools and technique6 min read
Trowel notch size by tile size: a metric chart
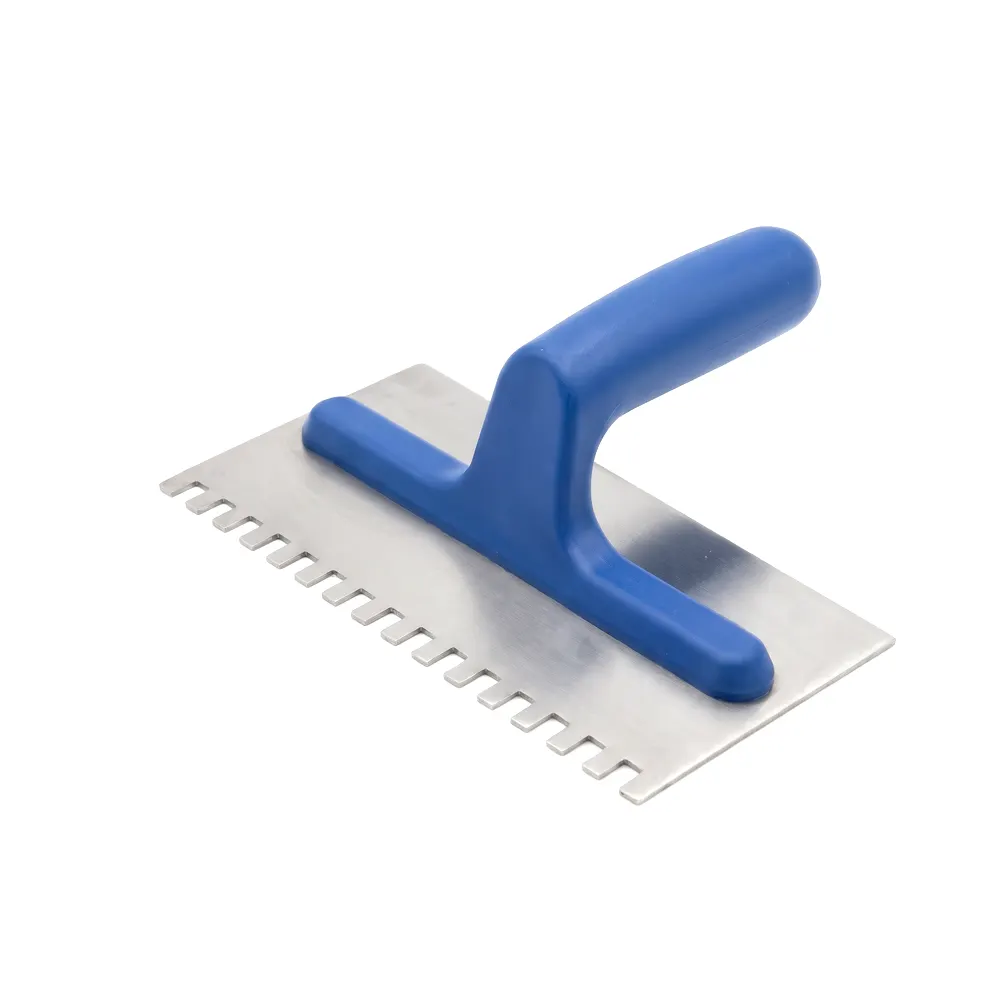
Choose the notch that wets the back of the tile. Data sheets pair a 4 x 4 mm notch with mosaics and small tiles, 5 x 5 mm with normal sizes and 6 x 6 mm with large sizes, outdoor floors and rough backs. No sheet prints a notch against a size like 60 x 60 cm, so butter the back, lift a tile and look.
In this guide
What decides the trowel notch size?
Coverage on the back of the tile decides it, and tile size only gives you a starting point. The Mapeset and Adesilex P7 sheets ask for a trowel that wets 65 to 70% of the back on walls and light-traffic interiors, and 100% in heavy traffic and on all external work.
BS 5385-1:2018 clause 7.2.1.5.1, as reported by The Tile Association, sets the same two limits: a bed no thicker than the manufacturer recommends, and "maximum practical contact between tile and adhesive". Part 1 is the wall tiling code.
So the trowel has two ways to be wrong. Too small and the ridges never reach the tile, which leaves voids and a hollow sound later. Too large and the bed passes what the bag allows, or adhesive squeezes up through the joints.
Trowel notch chart by tile size, in millimetres
The chart gives the notches Mapei prints, and it says plainly where the sheets print nothing. Only Mapeset gives millimetres for its trowel numbers. We read n. 4, 5 and 6 on Adesilex P7 as the same trowels.
The bed column is our arithmetic, not a printed figure, and it assumes consumption is printed as powder weight. Adesilex P7 at 4 kg/m² with 26 to 28 parts of water makes about 5.1 kg of wet mix. At the printed mix density of 1,600 kg/m³, each millimetre over a square metre weighs 1.6 kg, so 5.1 / 1.6 = 3.2 mm.
The sheets differ on back-buttering outdoors. Adesilex P7 asks for it on all external floors and walls, Kerabond T above a 30 cm side, and Mapeset only in difficult applications. We have charted the stricter reading.
| Tile size | Notch | Bed left behind | Back-butter? |
|---|---|---|---|
| Mosaics to 5 x 5 cm, small tiles | No. 4: 4 x 4 mm | About 1.6 mm | Only outdoors, tanks, pools |
| Normal, no size printed | No. 5: 5 x 5 mm | 1.9 to 2.4 mm | Only outdoors, tanks, pools |
| Large, no size printed | No. 6: 6 x 6 mm | About 3.2 mm | Yes |
| Over 0.1 m², side to 60 cm | Not printed by size | 3.2 to 3.9 mm if No. 6 | Yes at 60 x 60 cm. Smaller: if the lift test falls short |
| Side over 60 cm | Not printed | Not printed | Yes |
| Outdoors, side over 30 cm | No. 6: 6 x 6 mm | 3.2 to 3.9 mm | Yes |
| Rough back or uneven substrate | No. 6: 6 x 6 mm | About 3.9 mm | Not for that alone |
What size trowel for 60 x 60 and larger tiles?
No data sheet we hold prints one. Adesilex P7 stops at "large sizes" with n. 6 and does not define large. Keraflex Maxi S1 gives no number at all: its instruction is a notch that "guarantees optimum buttering of the back of the tile", in beds up to 15 mm.
What the sheets do give is the back-buttering line. Kerabond T calls it necessary for large format tiles with a side over 60 cm, and Keraflex Maxi S1 for large format tiles generally. Mapeset is not for large format tiles at all.
The same Tile Association deck reports that BS 5385-1:2018 wants tiles of 0.1 m² or more solidly bedded (a 60 x 60 cm tile is 0.36 m²), and defines large format as over 3,600 cm², which leaves 60 x 60 cm exactly on the line. A floor figure from Part 3 was not read, so none is given here.
Our advice for 60 x 60 cm and up: start from the largest printed notch, butter the back, and let the lifted tile decide. For a size-specific answer on a large job, ask us to check it with Mapei.
How much adhesive does each notch use?
On the sheets that print it by trowel, a No. 5 uses 2.5 to 3 kg/m² and a No. 6 uses 4 or 5 kg/m². In a 25 kg bag, that is the difference between 10 m² at 2.5 kg/m² and 6.25 m² at 4 kg/m², before any waste.
The sources disagree at the 6 mm notch. Adesilex P7 prints 4 kg/m² and Mapeset about 5 kg/m². A Mapei Americas mortar sheet, for a product outside Sahihi's range, prints 6.97 to 8.36 m² per 22.7 kg bag on a 6 x 6 x 6 mm notch, which works out at 2.7 to 3.3 kg/m². So one notch spans 2.7 to 5 kg/m² across three sheets. Order from the sheet of the adhesive you are buying. Each product page has its data sheet and a coverage calculator.
| Adhesive | No. 4 (kg/m²) | No. 5 (kg/m²) | No. 6 (kg/m²) | Not by notch |
|---|---|---|---|---|
| Mapeset | About 2 | 2.5 to 3 | About 5 | - |
| Adesilex P7 | 2 | 2.5 to 3 | 4 | - |
| Kerabond T | - | - | - | 2 to 5 kg/m² |
| Keraflex Maxi S1 | - | - | - | 1.2 kg/m² per mm |
How to check coverage by lifting a tile
Press a tile, lift it straight away and read its back. It takes a minute and needs no equipment. Do it on the first tile of the day, again when the tile, substrate or trowel changes, and periodically after that, as the Mapei Americas sheet advises.
Then judge against the job. The Mapeset and Adesilex P7 sheets want 65 to 70% on walls and light-traffic interiors and 100% on heavy traffic and outdoors. ANSI figures, as reported by the Ceramic Tile Education Foundation, are at least 80% in dry areas and 95% in wet areas. The sources do not match, so on floors work to the higher figure. The Tile Association says the old 50% contact "will not provide sufficient bond strength" with large format and thin tiles.
- 1Spread a thin coat with the straight edge of the trowel, pressing it into the substrate.
- 2Straight after, comb the adhesive with the notched side, all ridges in one direction.
- 3Place the tile, press firmly and move it back and forth across the ridges.
- 4Lift it and look. Adhesive should cover the back, with no clean stripes or bare corners.
- 5If it falls short, check the substrate, go up a notch or butter the back, then test again.
When is a bigger notch right, and when is it wrong?
A bigger notch is right when the ridges have further to travel. Mapeset names irregular substrates and tiles with a very rough back for No. 6, and both Mapeset and Adesilex P7 name exterior work for it.
It is wrong when it pushes the bed past the limit. Kerabond T is not for tiles needing a layer over 5 mm. Adesilex P7 and Keraflex Maxi S1 go to 15 mm. No notch cures a floor that is out of level. Flatten it first from the primers and levelling line.
Large tiles also cost working time, because each one takes longer to butter and place, and Tanzanian sun and wind can cut open time to a few minutes. If a skin forms, re-comb or replace the adhesive. Never wet it. Mixing matters as much: see how to mix tile adhesive.
Notched trowels and mixing paddles are among the tools Sahihi supplies.
Sources
- Mapeset technical data sheet, Mapei
- Adesilex P7 technical data sheet, Mapei
- Kerabond T technical data sheet, Mapei
- Keraflex Maxi S1 technical data sheet, Mapei
- The Tile Association, Recent Changes to BS 5385: Part 1:2018
- Ceramic Tile Education Foundation, How Not to Install Tile on Floors, Walls and in Showers, 11 April 2023
- Mortar data sheet, Mapei Americas, version 25 July 2018
Written by Sahihi Construction Chemicals Limited, Dar es Salaam. Product figures are quoted from the manufacturers' technical data sheets; check the current sheet before you specify.